WindowsGuestDrivers/viostor/installation: Difference between revisions
No edit summary |
No edit summary |
||
| Line 31: | Line 31: | ||
= Non-System disk installation procedure = | = Non-System disk installation procedure = | ||
== QEMU command line options == | == QEMU command line options == | ||
Run VM with the new VirtIO block device by adding the following options: | Run VM with the new VirtIO block device by adding the following options: | ||
| Line 41: | Line 42: | ||
[[Image:snapshot21.png]] | [[Image:snapshot21.png]] | ||
== Select "Install from the list or specific location" option and press "Next" = | == Select "Install from the list or specific location" option and press "Next" == | ||
[[Image:snapshot22.png]] | [[Image:snapshot22.png]] | ||
Revision as of 09:52, 4 August 2009
How to setup Windows guest VirtIO block driver on Windows Server 2003
Introduction
VirtIO block driver can be used either as a system (boot) or non-system disk. However, the installation procedure for these two different scenarios is slightly different.
System disk installation procedure
QEMU command line options
First of all, a VM needs to be started with the VirtIO block device and boot options enabled:
-drive file=/image_path/image_name,if=virtio,boot=on
In addition, a virtual floppy disk with correct Windows drivers must be specified:
-fda /floppy_image_path/floppy_image_name
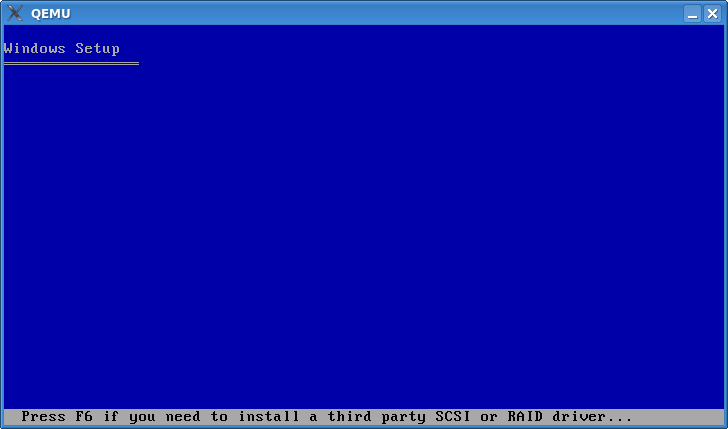
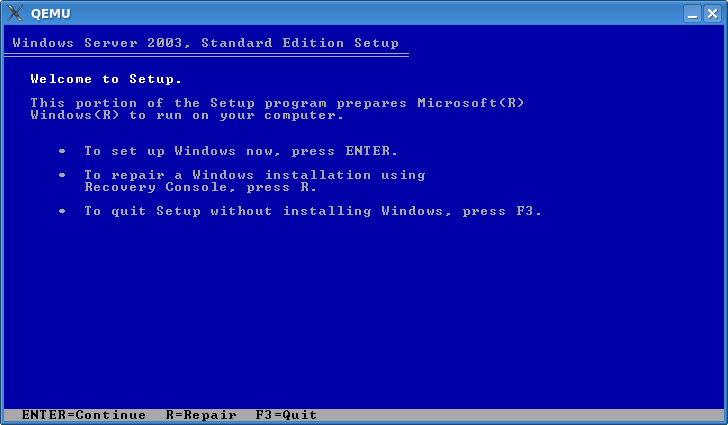
Boot from the CD and press "F6" to install a third party driver
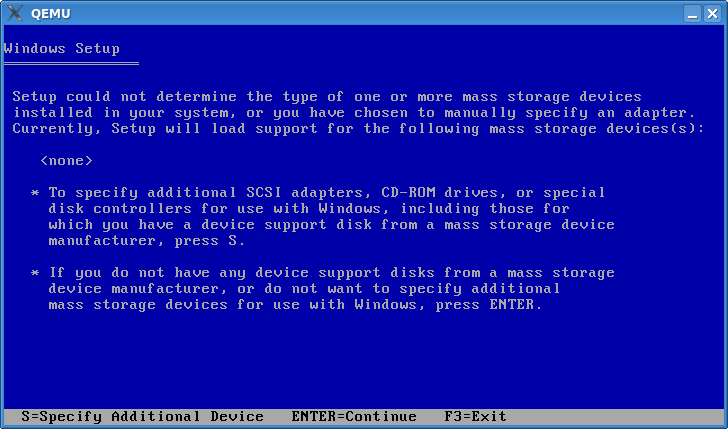
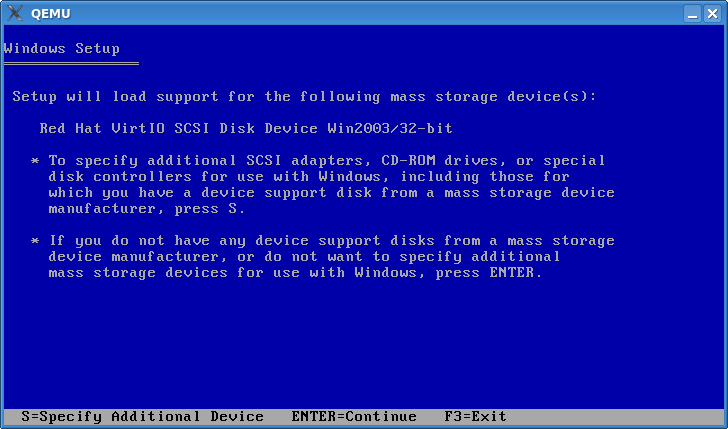
Press "S" to specify additional device
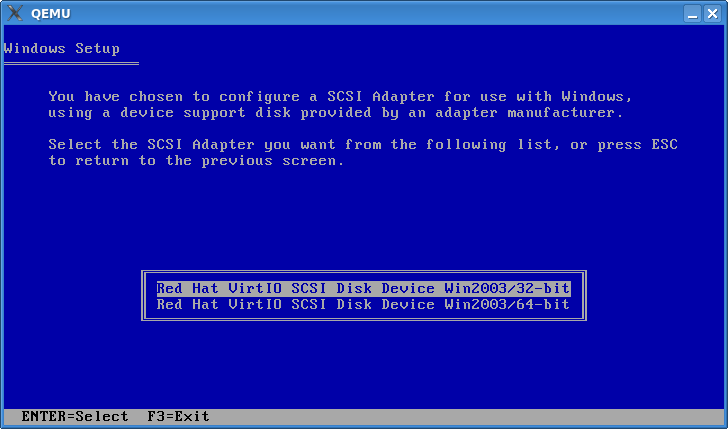
Select correct architecture and press "ENTER"
Press "Enter" to continue
All set. Press "Enter" and continue with the normal installation procedure
Non-System disk installation procedure
QEMU command line options
Run VM with the new VirtIO block device by adding the following options:
-drive file=/image_path/image_name,if=virtio,boot=off and -fda /floppy_image_path/floppy_image_name
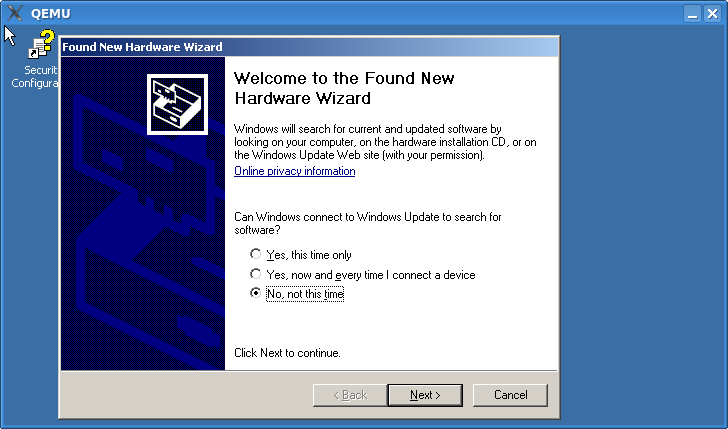
Upon the Windows guest restart the New Hardware Wizard dialog will appear
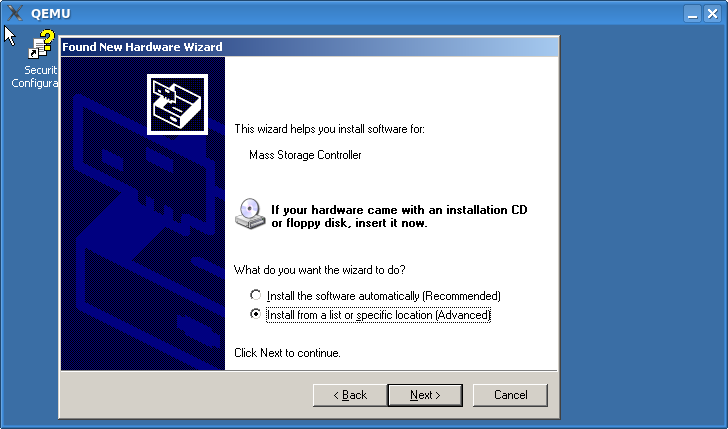
Select "Install from the list or specific location" option and press "Next"
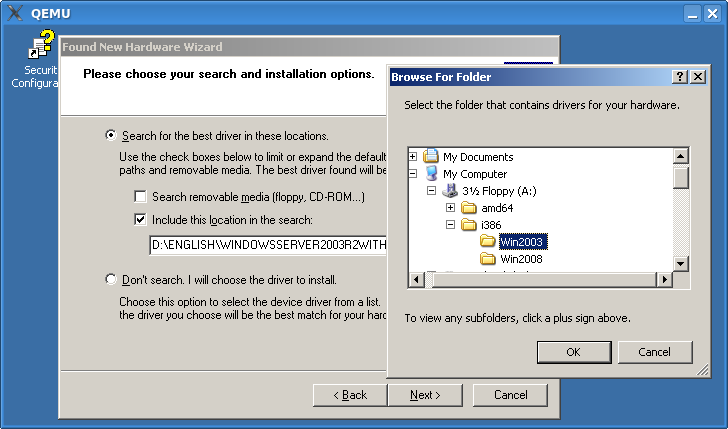
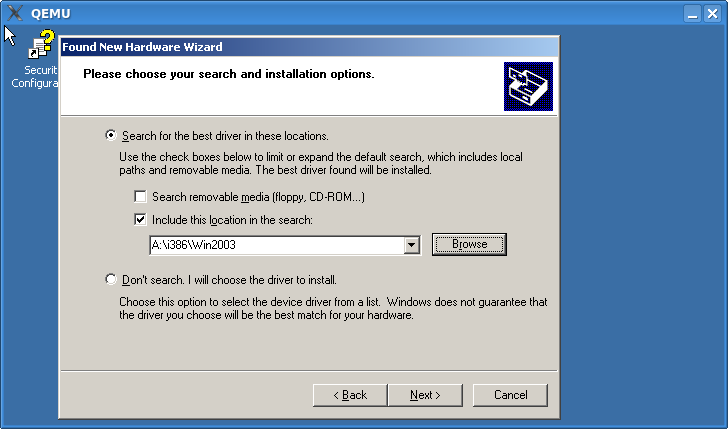
Select an appropriate location and press "OK" button
Press "Next" button
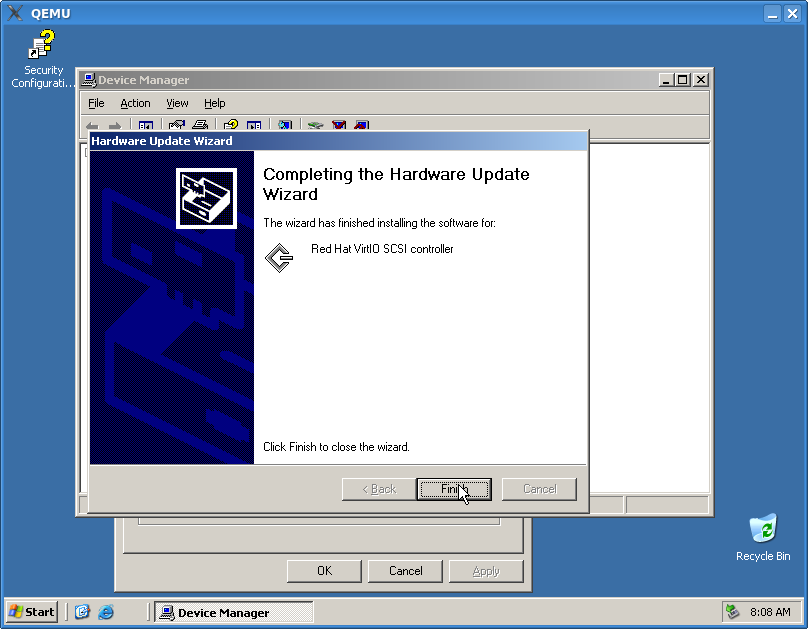
Press "Finish" upon installation completion
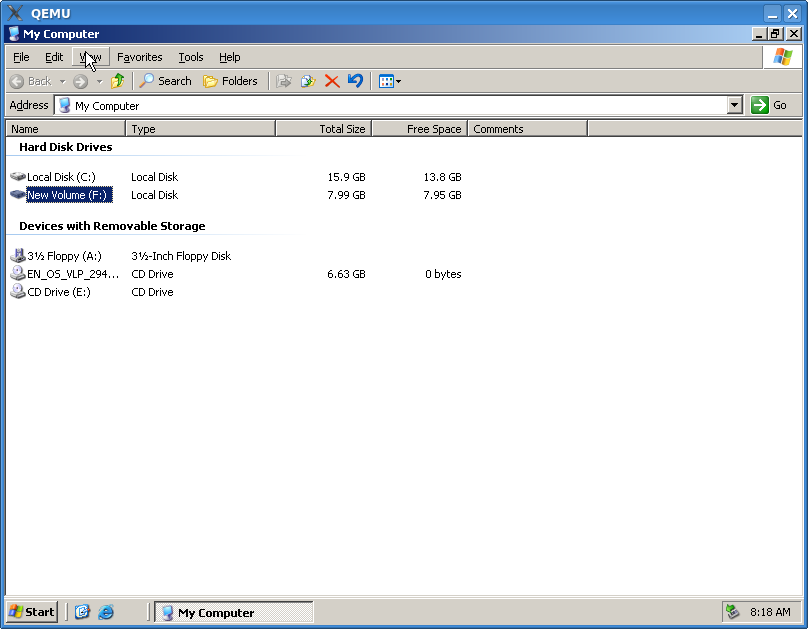
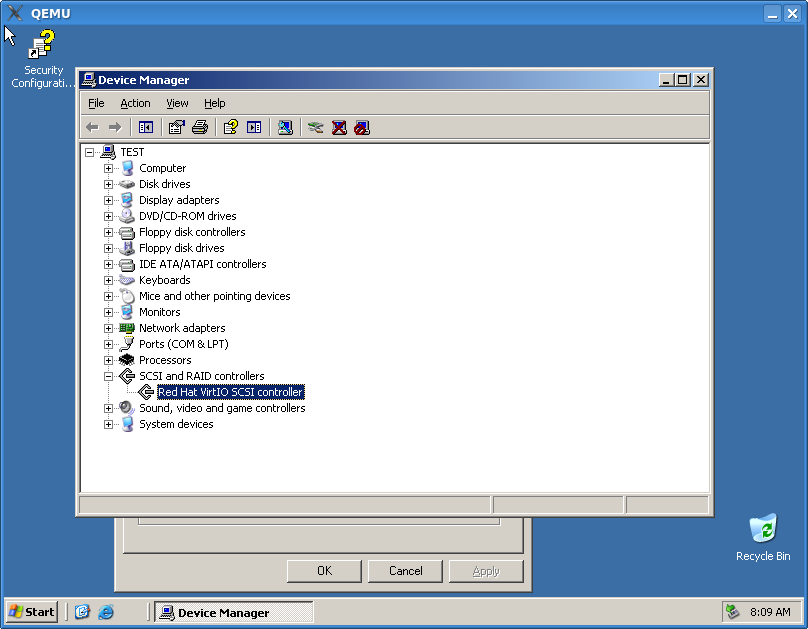
Verify installation
Go to "Device Manager" and check to see that "Red Hat VirtIO SCSI controller"
appears under "SCSI and RAID controllers" category.
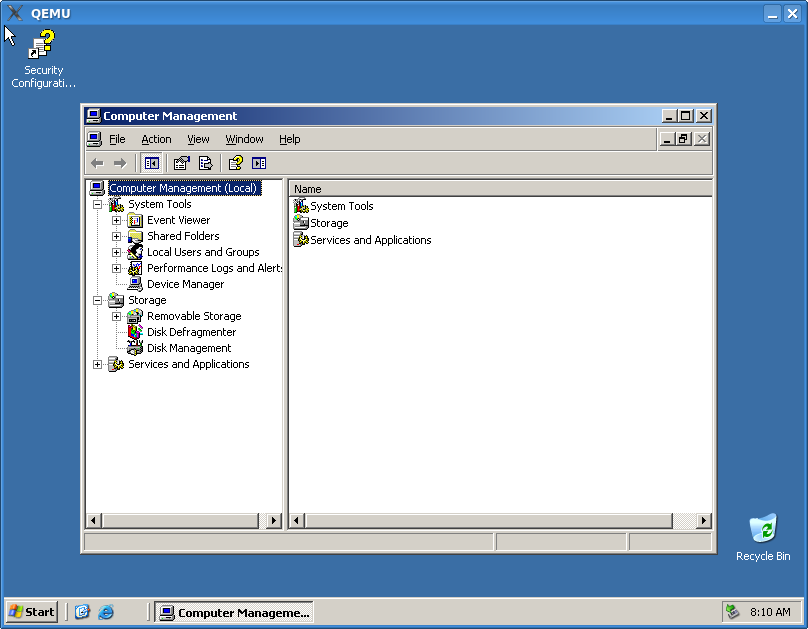
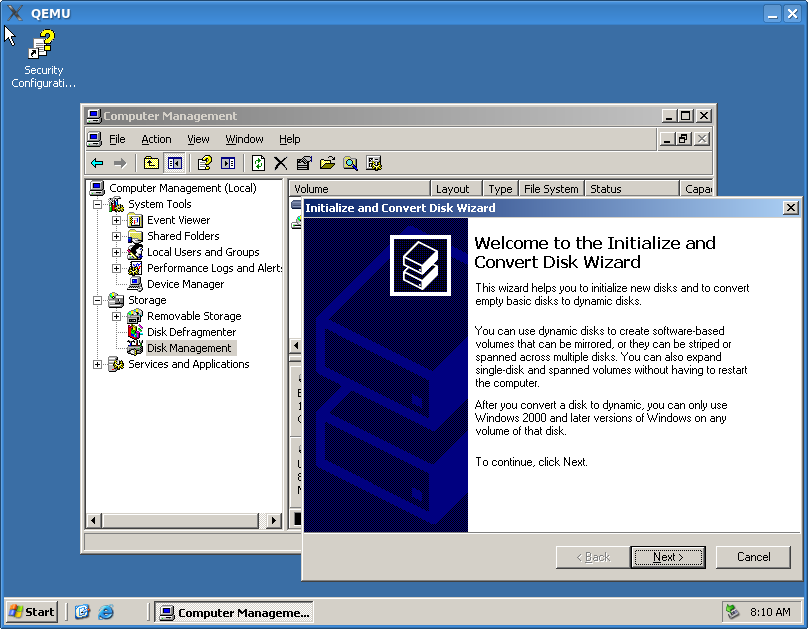
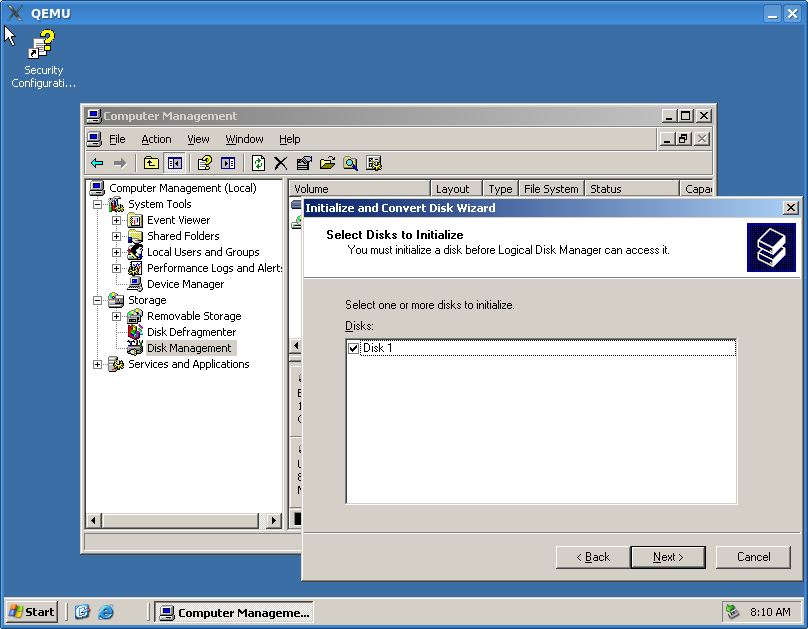
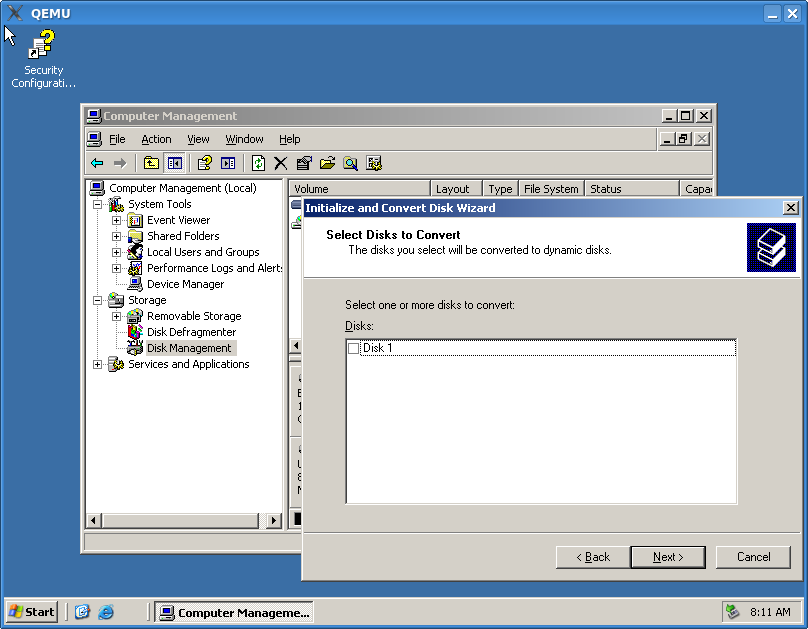
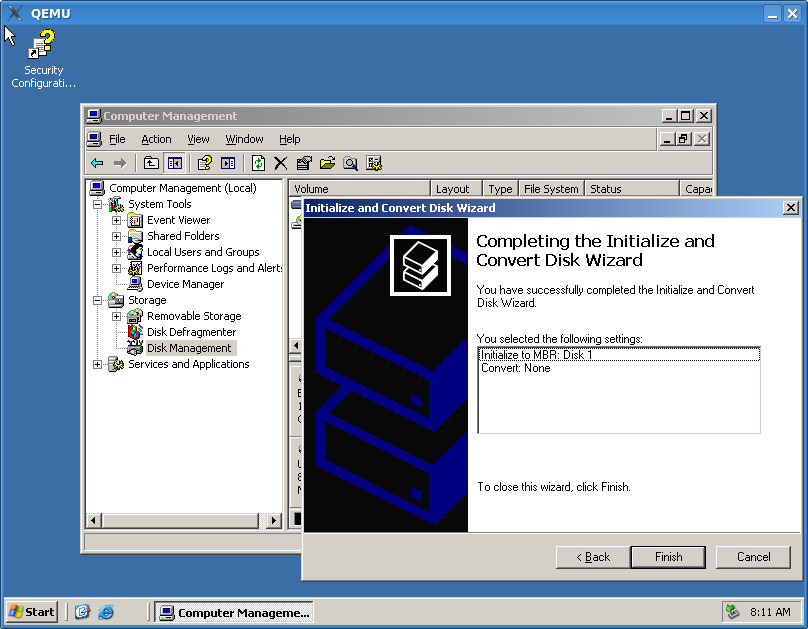
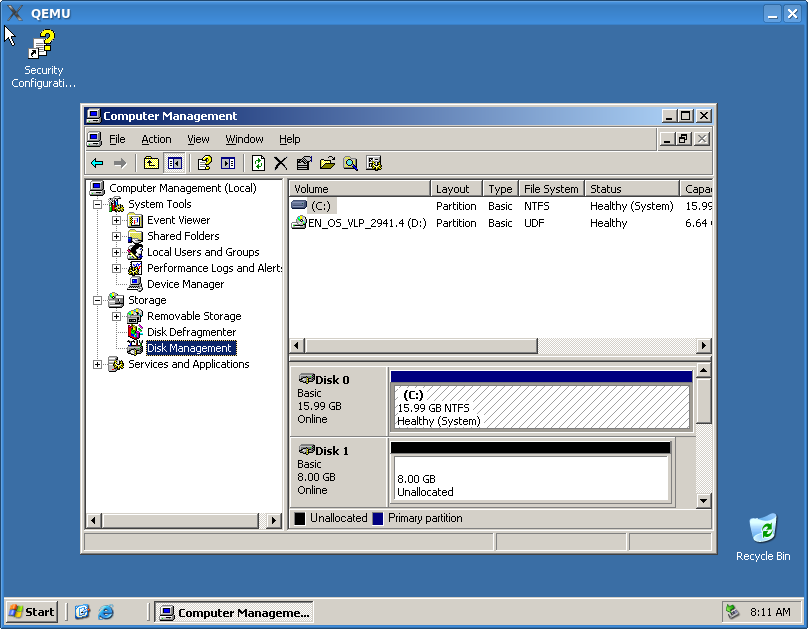
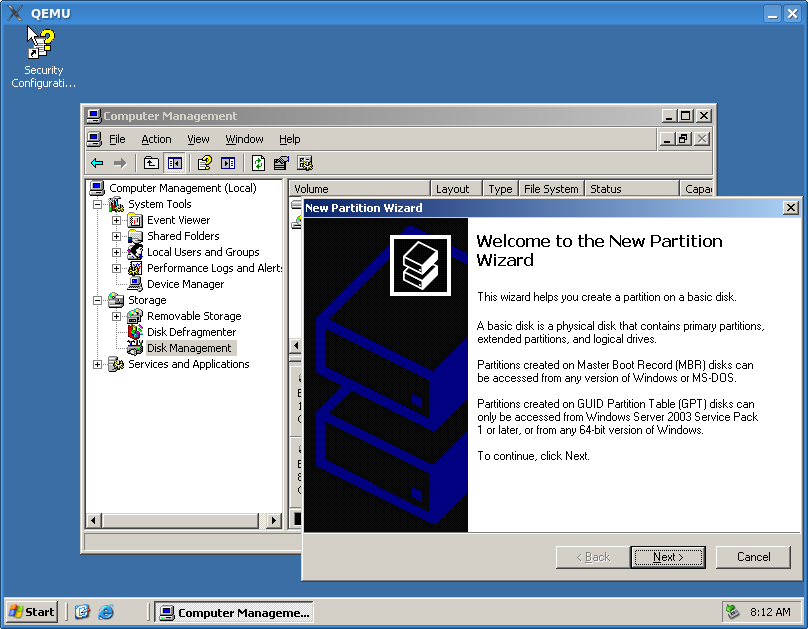
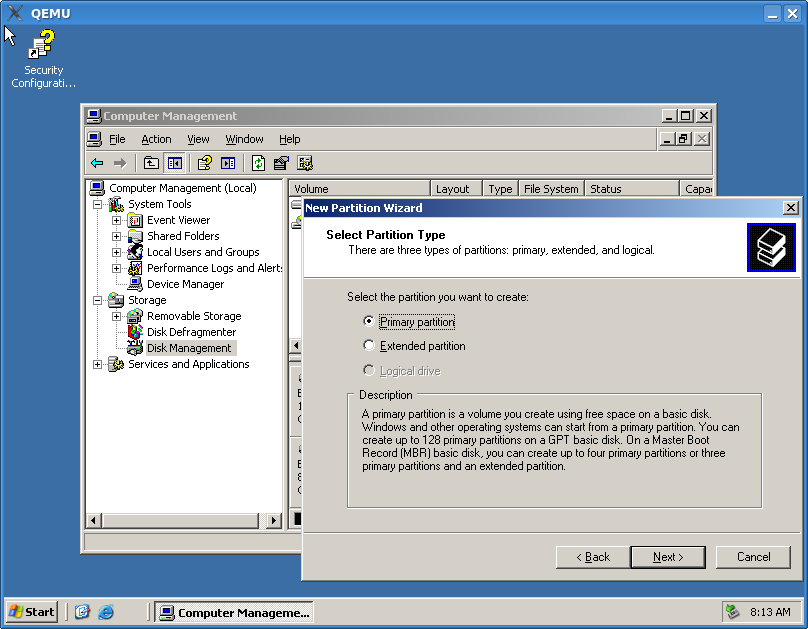
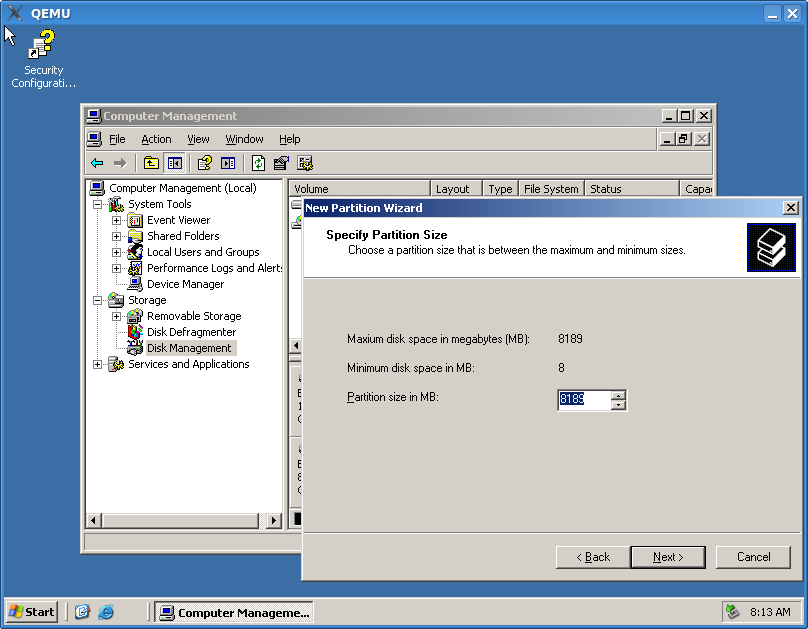
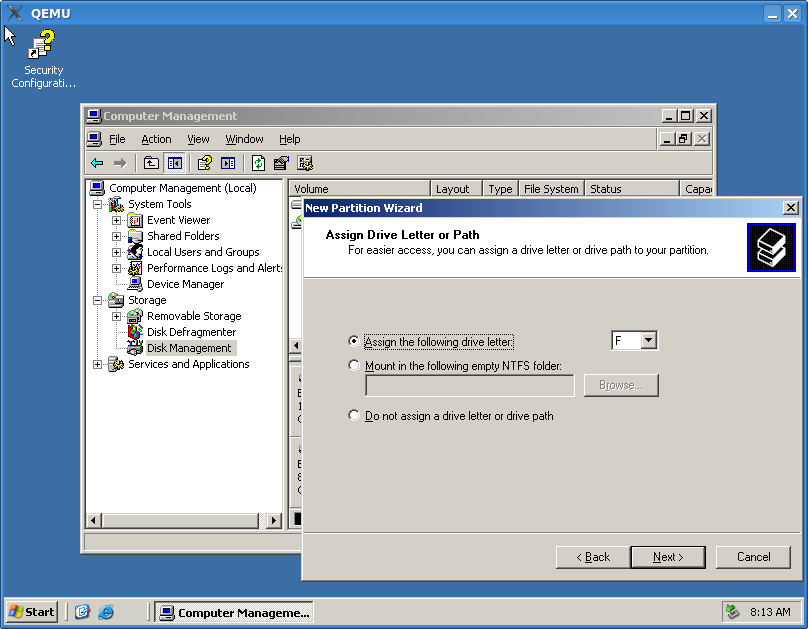
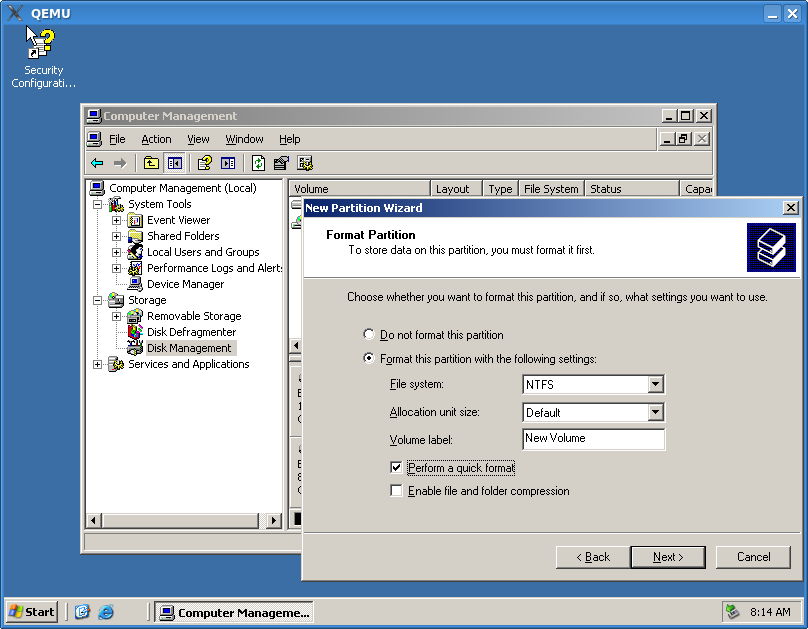
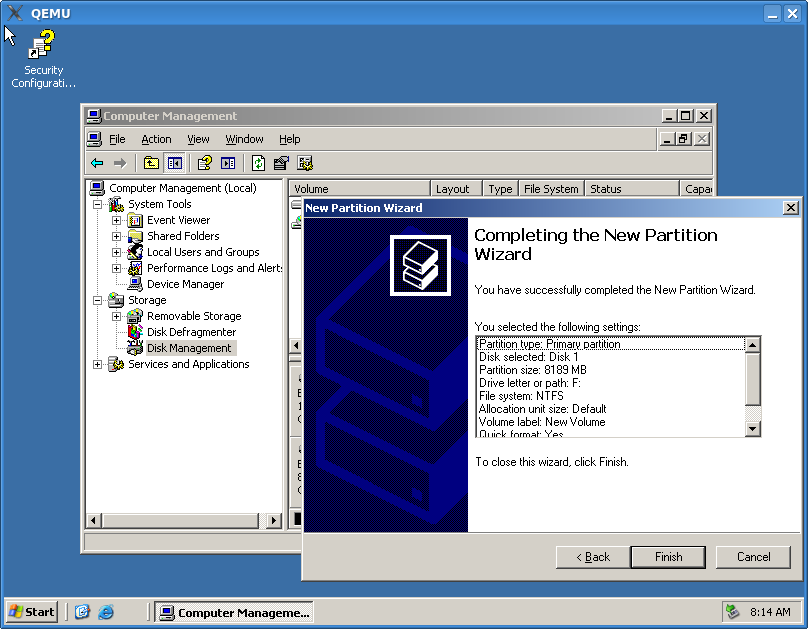
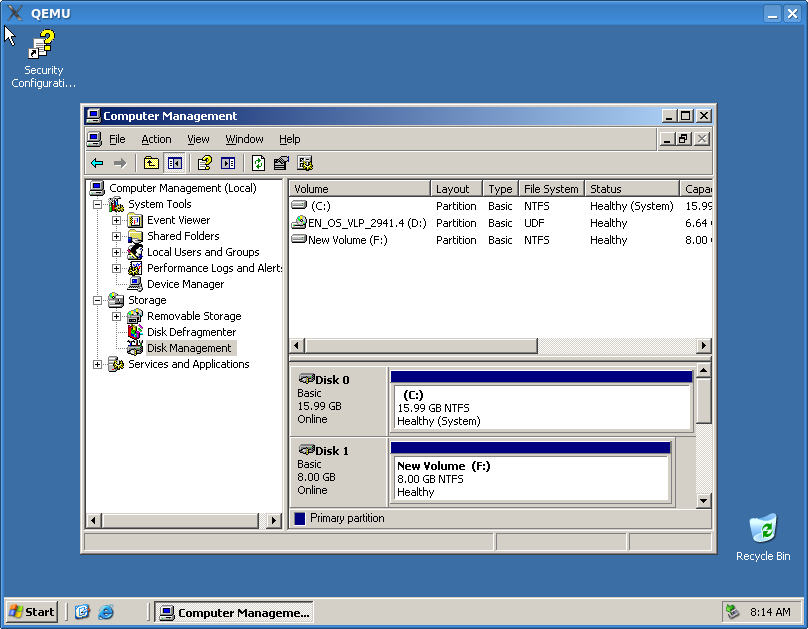
== Go to "Start" -> "Administrative Tools" -> "Computer Management"
and click "Disk Management". ==
